

How to Dermaplane at Home

Every Monday I work from home and rarely leave the house, so I also set it as my weekly self-care day, adding things into my routine like dermaplaning. It’s amazing how many treatments you can actually do at home rather than spending hundreds of dollars at a skin clinic.
Dermaplaning has become a game-changer in skincare routines, delivering smoother, brighter skin by removing dead skin cells and peach fuzz. While it’s typically done by professionals, you can easily do it at home with the right tools and techniques.
Every Monday it’s my admin day, so I work from home and rarely leave the house, so I also set it as my weekly self-care day, adding things into my routine such as dermaplaning. It’s amazing how many treatments you can actually do at home rather than spending hundreds of dollars at a skin clinic.
Over time I’ve realized there are so many people who seem a bit scared to try dermaplaning themselves (and with good reason - I mean you are dealing with a blade to the skin!), so I thought I’d break it down and share everything you need to know to dermaplane safely and effectively from the comfort of your own bathroom.
What is Dermaplaning?
Dermaplaning is a non-invasive exfoliating treatment that uses a small blade to gently scrape away dead skin cells and fine facial hair (aka peach fuzz). It leaves the skin feeling soft, looking radiant, and helps makeup glide on like a dream.
Benefits of Dermaplaning at Home
Instant Glow: Removes dull, dead skin cells and reveals brighter skin.
Smoother Makeup Application: Foundation and concealer glide on effortlessly.
Better Product Absorption: Skincare products penetrate more effectively without the barrier of dead skin cells.
Temporary Hair Removal: Peach fuzz is gone, leaving your face ultra-smooth.
How to Dermaplane at Home: Step-by-Step
1. Start with Clean Skin
Always begin with a freshly cleansed face. Use a gentle cleanser to remove makeup, dirt, and oils, ensuring your skin is prepped and ready. Make sure your skin is completely dry before starting—moisture can interfere with the blade’s glide. Avoid using harsh exfoliators or active ingredients (like AHAs or retinol) 24 hours before dermaplaning to avoid irritation.
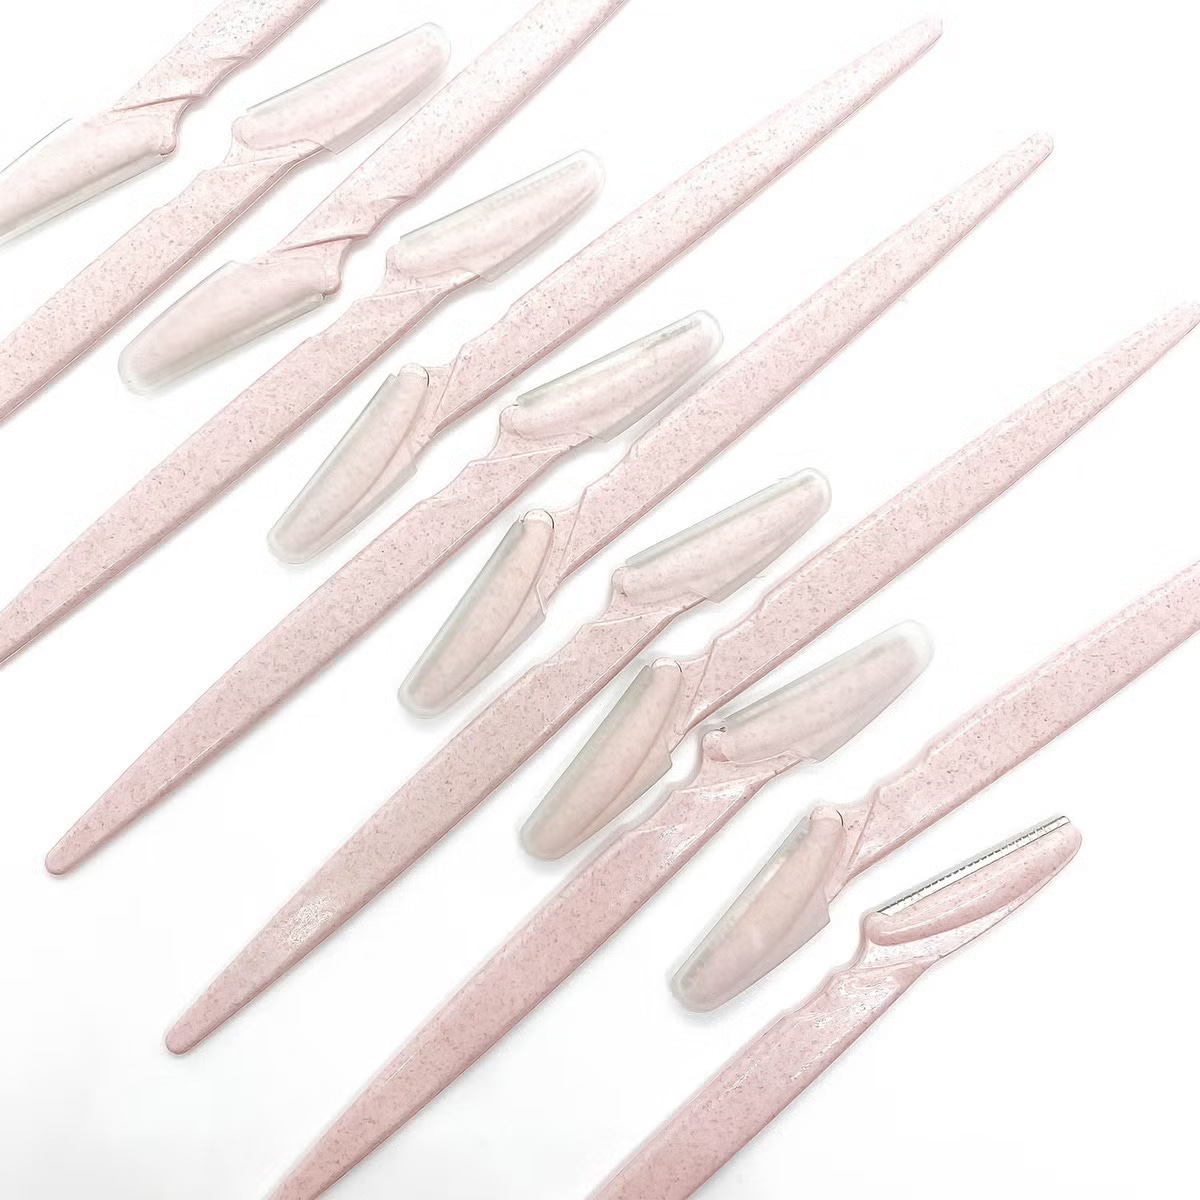
2. Use the Right Tool
Invest in a high-quality, single-blade dermaplaning tool designed for home use. Avoid regular razors or multi-blade tools—they're not the same and could cause more harm than good. Disposable facial razors or specific dermaplaning blades are your best bet.
3. Hold the Blade at a 45-Degree Angle
Using light pressure, hold the blade at a 45-degree angle to your skin. Gently glide it in short, downward strokes. It’s best to start at the top of your cheekbone and work your way down, avoiding the delicate eye area and any active breakouts. Be gentle! There’s no need to press hard—let the blade do the work.
4. Take Your Time and Work in Sections
Go slow and work in small sections to avoid missing areas. Pay special attention to the jawline, upper lip, and cheeks, as these areas tend to have the most peach fuzz. Don’t go over the same spot more than once to prevent irritation.
5. Soothe and Moisturize
After dermaplaning, your skin might feel a bit sensitive. Apply a layer of Aloe Vera gel to the skin. I always avoid wearing makeup on the same day as dermaplaning. Let your skin breathe.
What to Avoid After Dermaplaning
Avoid Retinol or Strong Acids for 24-48 hours to prevent irritation.
Skip Steam and Saunas for a day since your skin will be extra sensitive.
Stay Out of the Sun or be diligent with sunscreen to protect your freshly exfoliated skin.
Don’t wear makeup on the same day as dermaplaning.
While dermaplaning works well for most people, it might not be ideal if you have active acne, rosacea, or very sensitive skin. In these cases, it’s best to consult with a dermatologist or esthetician before trying it at home.